Autumn is, for many Portuguese families, the time when the decision is finally made to paint the interior of the house. Summer holidays are over, children have returned to school, and there is more time to organize indoor works. But this season has particular characteristics that directly influence the quality of the final result, from ambient temperature to relative humidity, including how surfaces react to paint at this time of year.
How autumn climate affects interior painting
Higher relative humidity
In the autumn months, relative humidity rises across nearly all of Portuguese territory, and this has a direct impact on paint drying time. Under normal conditions, acrylic paint dries to the touch in one to three hours and allows a fresh coat after about four hours, but with lower temperatures and more humid air, this interval can practically double. On cold or very humid days, drying time can practically double, which means revising the work schedule.
Ventilation and air circulation
With windows closed for longer periods, air circulation inside the house reduces, which slows the evaporation of water in the paint. It is worthwhile to maintain slight ventilation during and after application, without creating direct air currents over the still-fresh wall, which can dry the surface unevenly.
Walls showing signs before the end of summer
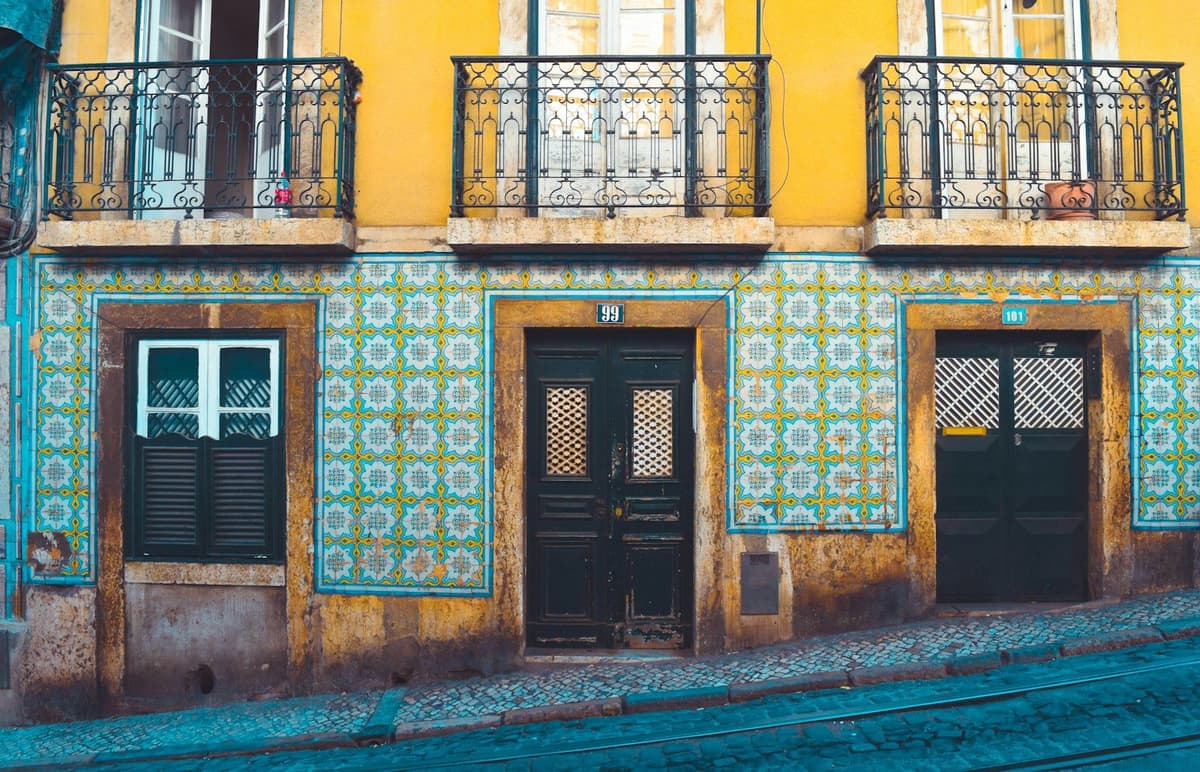
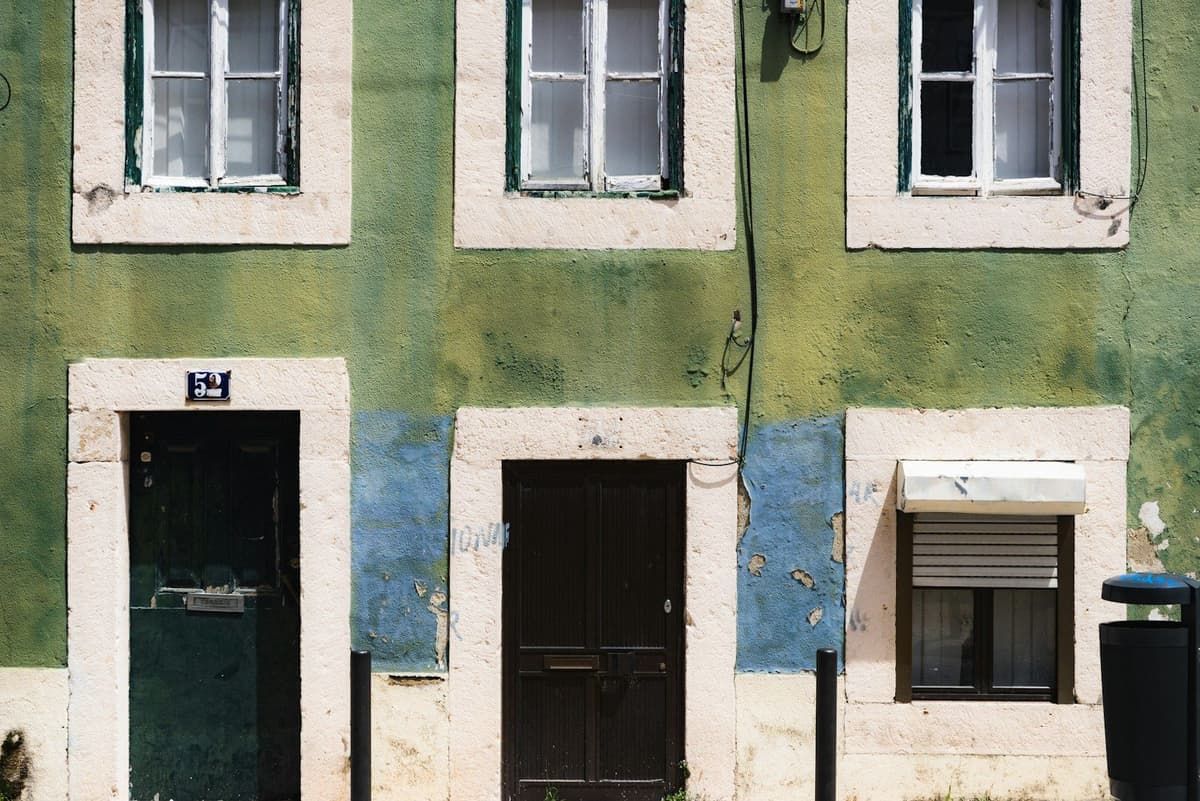
Many homes in Portugal, especially in older buildings in Porto, Lisbon or Coimbra, enter autumn with signs of wear that went unnoticed during the drier months. The country has one of Europe's most humid housing stocks, and this means small cracks or areas of weak paint become visible as soon as humidity returns. Before applying any new paint, it is worth assessing whether the wall is truly ready to receive it.
Surface preparation: the step that determines the result
Cleaning and correcting imperfections
Surface preparation is often underestimated, but it is what separates work that lasts for years from work that shows defects in just a few months. Before painting, the wall must be clean, free of dust and grease, and any crack or hole must be filled with appropriate filler before moving on to paint.
The essential preparation steps include:
- Remove dust and dirt with a slightly damp cloth
- Repair cracks and small holes with appropriate filler
- Lightly sand the repaired areas until they are level with the rest of the wall
- Apply primer to repaired areas or to walls that have never been painted before
Walls that have never been painted tend to absorb more paint, so it is usually recommended to apply an appropriate primer or diluted paint before the final coat.
When sanding is truly necessary
Not every surface needs the same level of preparation. Smooth, well-maintained walls can go straight to painting, but repaired areas, those with old stains, or paint that is several years old require more attention. For detailed information on when it is worthwhile to sand between coats and when this step is unnecessary, see sanding between paint coats1.
Application technique: tools and work sequence
Logical order of painting a room
The work sequence influences both the finish and work efficiency. The most common procedure begins with the ceiling, moves to the walls, and ends with woodwork (door frames, skirting boards, and window frames), leaving the floor, if it is to be painted, for last.
Roller, brush, and meeting points
For large, flat surfaces, the roller ensures faster and more uniform application, while the brush is reserved for angles between walls, junctions with the ceiling, and door and window frames. When working with a roller, the recommendation is to cross strokes without too much overlap, finishing always with final strokes in the same direction for a more uniform finish.
Common errors that compromise the finish
Some errors repeat themselves in works done without planning:
- Applying the second coat before the recommended drying time, which can create bubbles or uneven finish
- Loading the roller too heavily, resulting in a thick layer that dries irregularly
- Ignoring protection of skirting boards, window frames, and switches with appropriate tape
- Not isolating the room or protecting furniture before starting
A thick coat never produces as good a result as two thin coats properly applied, and this is probably the most common error in rushed painting jobs.
Comparative table: drying times according to conditions
| Environmental condition | Touch-dry time | Interval between coats | Notes |
|---|---|---|---|
| 20-25°C, humidity below 60% | 1 to 2 hours | about 4 hours | Ideal conditions, common on dry autumn days |
| Below 18°C | 3 to 4 hours | 6 to 8 hours | Frequent in autumn/winter without room heating |
| Humidity above 70% | 3 to 5 hours | 8 hours or more | Common on days of persistent rain or poor ventilation |
These values are indicative and vary depending on the type and brand of paint, so it is always worthwhile to check the technical specifications of the chosen product.
Practical planning for autumn
Before scheduling the work, it is worthwhile to follow a simple checklist that prevents problems midway through the process:
- Check the forecast for consecutive dry days, even for interior work, since air humidity affects drying regardless of rain
- Ensure the room can be ventilated without creating direct currents over the fresh wall
- Confirm whether there are areas with cracks or stains that need extra preparation before the final paint
- Request that the quote includes an assessment of the real condition of the walls, not just the price per square meter
A quote calculated per m² is always indicative, never definitive, because two walls with the same area can have completely different conditions beneath the surface. The final price can only be confirmed after assessing the real condition of the surfaces, whether through photographs and videos or a site visit, with both methods working in the same way. On our platform, we always request photographs and videos of surfaces before finalizing any quote, precisely to avoid surprises during the work. Those seeking guidance on interior painting2 can also use wall smoothing3 when the surface needs more than a simple coat of paint.
Frequently Asked Questions
Yes, autumn is a good time for interior painting, as long as you account for higher humidity and adjust drying times between coats. The key is to ensure adequate ventilation and not rush the application of the second coat.
Under normal conditions the interval is around four hours, but in autumn, with lower temperatures and more humidity, this time can increase significantly, reaching six or eight hours on cooler or more humid days.
It is not mandatory, but keeping the room at a comfortable temperature helps the paint dry more evenly. Avoiding cold air currents directly over the freshly painted wall also contributes to a more uniform finish.
No. Cracks and holes must be filled with appropriate filler and sanded before any coat of paint, otherwise the defect will reappear quickly, regardless of the quality of the paint used.
In most cases, two thin coats ensure better coverage and finish than a single thick layer. The exact number can vary depending on the previous color of the wall and the type of paint chosen.

Ready to paint?
Get free quotes from verified local painters in minutes. No commitment.
Sources
External sources open in a new tab.
- Lixar entre demãos de pintura: quando é precisopinturasportugal.pt
- Pintura Interiorpinturasportugal.pt
- Alisamento de Paredespinturasportugal.pt